


Critical Tips Before Replace or Install a Car Thermostat
Based on professional automotive maintenance insights, this guide outlines the essential precautions you must follow:
From preparation to post installation checks to ensure a successful, long lasting installation.
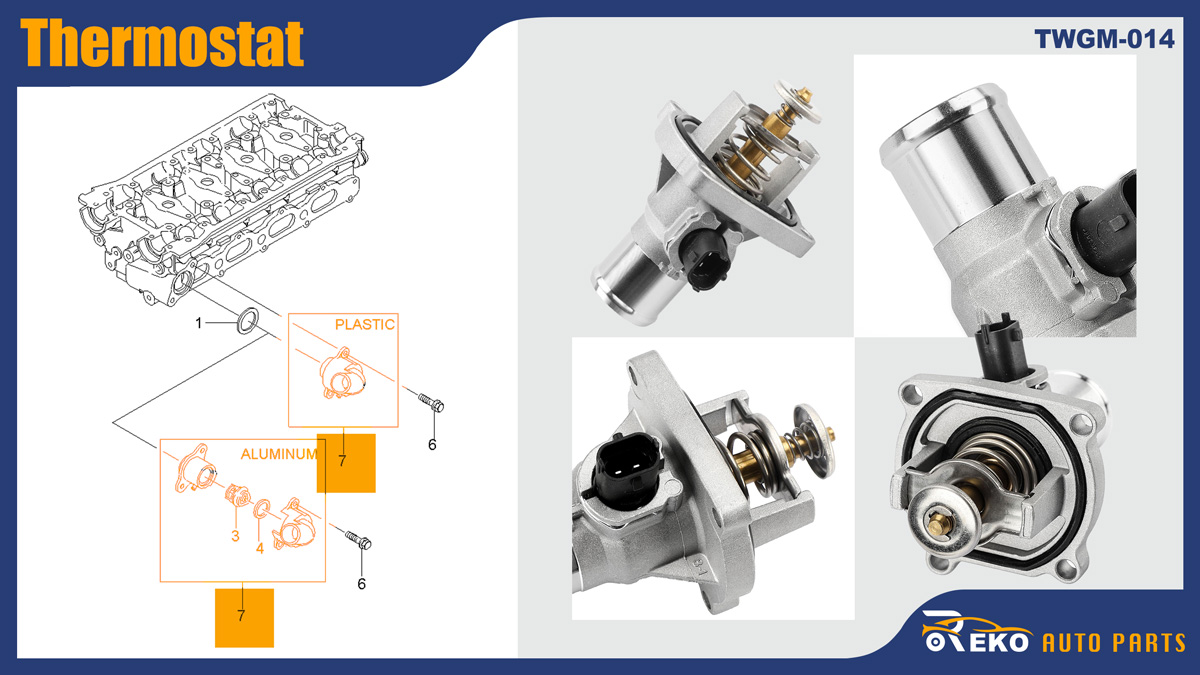
0. Choose the Right Car Thermostat
Reko Auto Parts offers you more than 10K SKUs of Thermostat, making sure you get the correct and reasonably priced spare parts
1. Pre-Installation Preparation: Safety First
Before starting any work, prioritize safety and proper preparation to avoid accidents or component damage
Let the Engine Cool Completely:
Never work on a hot engine. Turn off the vehicle and wait 1–2 hours for the engine (and hot coolant) to cool down. Scalding coolant can cause severe burns if spilled.
Disconnect the Battery:
Unhook the negative battery terminal to prevent accidental electrical shorts while working near engine components (e.g., engine control unit (ECU) connectors).
Gather the Right Tools & Parts:
Use a matching thermostat (check your vehicle’s make, model, and year) and a new, high-temperature-resistant gasket or sealant. Prepare a socket wrench set, drain pan, funnel, rags, and heat resistant gloves. Avoid low quality parts: they fail prematurely.
Drain out Coolant:
Locate the radiator drain plug, place a pan underneath, and drain out the coolant. This prevents excessive spillage when removing the thermostat housing.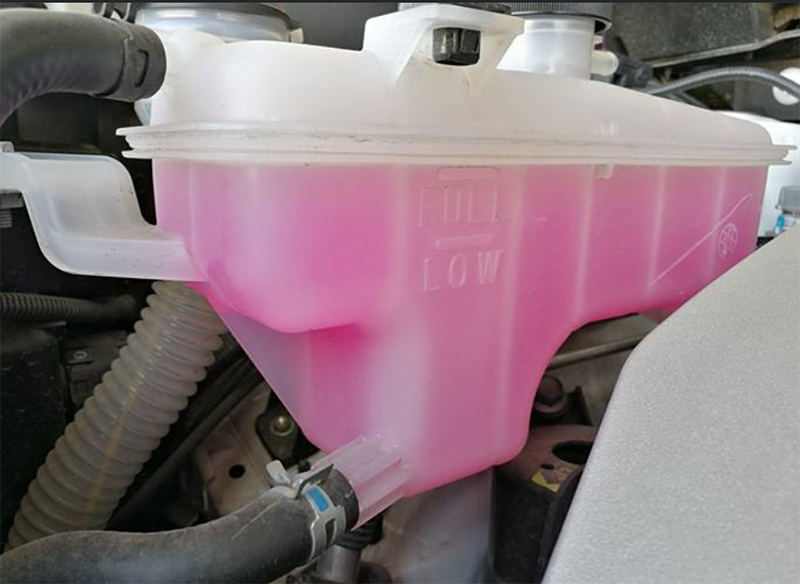
2. Key Precautions When Removing the Old Thermostat
Proper removal lays the groundwork for smooth installation:
Mark Bolt Positions:
Note the location and length of each bolt on the thermostat housing. Mixing up bolts can crack the housing or cause uneven pressure.
Avoid Scratching Mating Surfaces:
Use a plastic pry tool (never metal) to remove the housing. Scratches on the engine or housing surfaces will lead to coolant leaks.
Clean Thoroughly:
Remove old gasket residue, rust, and debris from the housing and engine mating surfaces with a solvent. Dirty surfaces prevent a tight seal, even with a new gasket.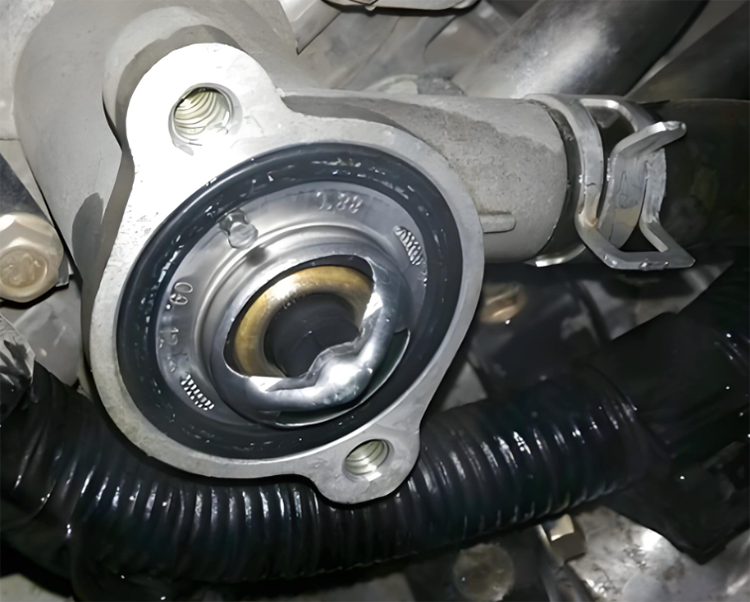
Inspect the Housing:
Check the thermostat housing for cracks, warping, or corrosion. A damaged housing must be replaced, reusing it will result in leaks.
3. Critical Installation Tips for the New Thermostat
This is the most important stage, mistakes here lead to immediate issues:
Ensure Correct Orientation:
The new thermostat must be installed in the same direction as the old one. Most thermostats have a "TOP" marking or a spring that faces downward (toward the engine). Installing it backwards blocks coolant flow, causing overheating.
Choose the Right Sealant or Gasket:
Use a new gasket (preferred) or high temperature, coolant resistant sealant. If using sealant, apply a thin, even layer, too much oozes into the cooling system and clogs passages.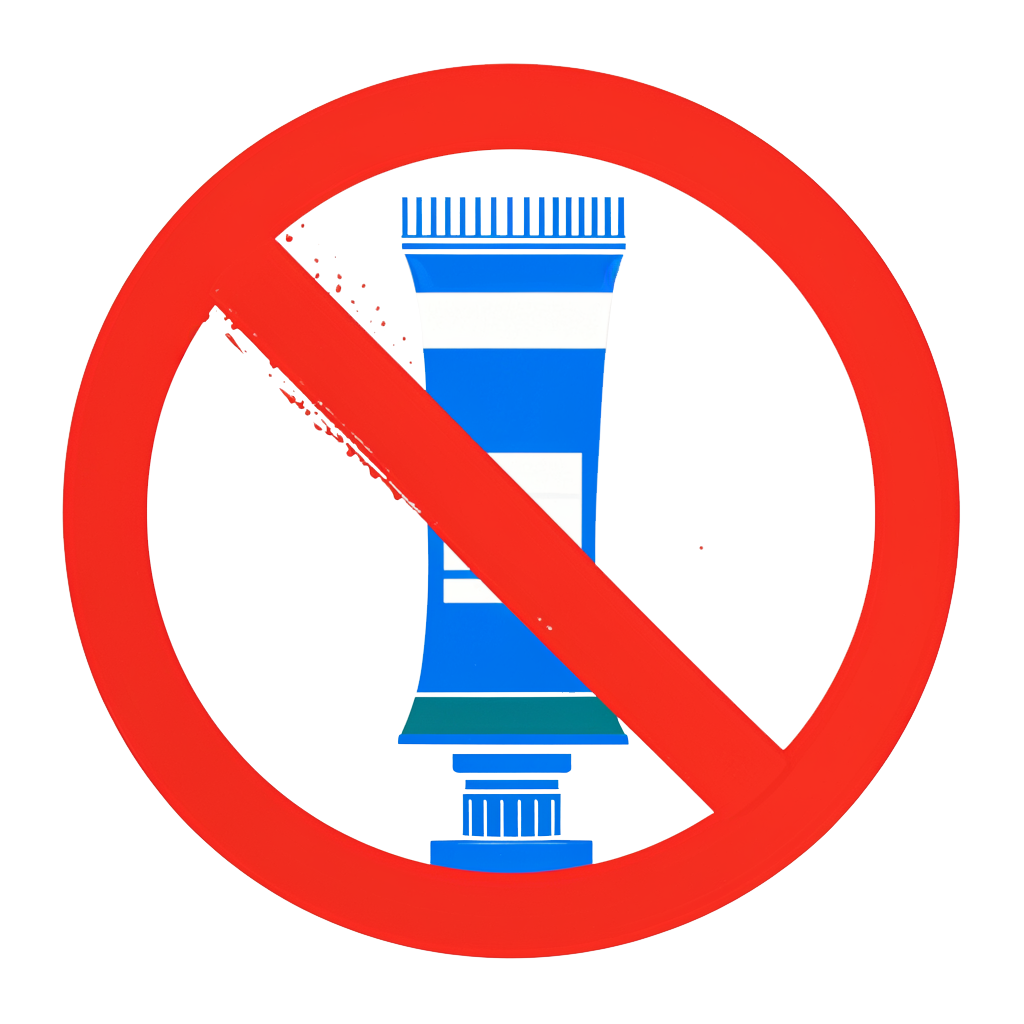
Tighten Bolts Evenly:
Use a torque wrench to tighten bolts to the vehicle’s OEM specifications (usually 8–12 N·m). Over tightening cracks the plastic/metal housing; under tightening causes leaks. Tighten in a crisscross pattern for even pressure.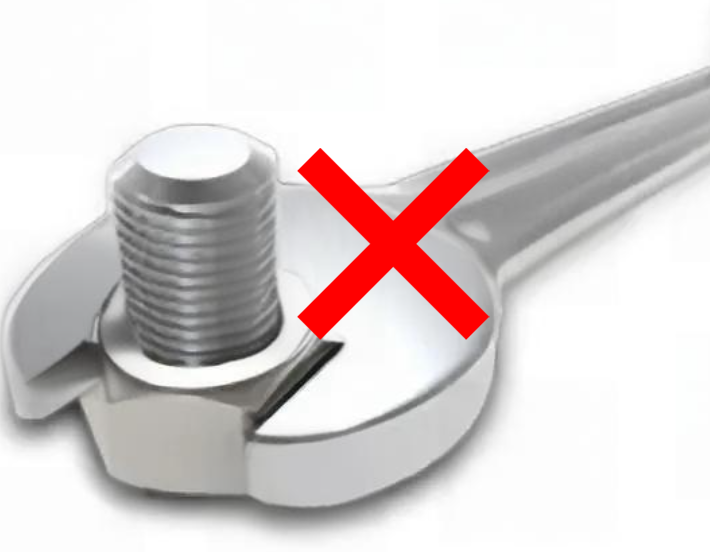
Do Not Modify the Thermostat:
Never drill holes or alter the thermostat to "improve flow." This disrupts temperature regulation, leading to poor fuel economy and engine wear.
4. Coolant Refill & Air Bleeding: Don’t Skip This
Improper coolant handling leads to air pockets, which block circulation:
Use the Right Coolant:
Refill with the OEM specified coolant (check the owner’s manual). Mix concentrated coolant with distilled water (not tap water) at the correct ratio (usually 50:50).
Bleed Air from the System:
Start the engine, turn the heater to maximum (to open the heater core valve), and let it idle for 5–10 minutes. Air bubbles rise to the radiator: add more coolant as the level drops. Repeat until the coolant level stabilizes.
Avoid Overfilling:
Do not fill the radiator beyond the "MAX" mark. Expanding coolant needs space, and overfilling causes leaks or pressure damage.
5. Post-Installation Checks: Verify Success
After installation, confirm everything works properly:
Check for Leaks:
Inspect the thermostat housing, hoses, and drain plug for coolant leaks. Run the engine until it reaches operating temperature, look for wet spots or dripping fluid.
Monitor Temperature Gauge:
The gauge should stay within the normal range (85–105°C/185–221°F). A spiking or low gauge indicates installation errors (e.g., reversed thermostat, air pockets).
Test Heater Performance:
The heater should blow hot air consistently. Lukewarm air means air is still trapped in the system or the thermostat is stuck open.
Clear Error Codes:
If the check engine light is on, use a scanner to clear codes. Drive the vehicle for 10–15 miles to ensure no new codes appear.
6. Common Mistakes to Avoid
Steer clear of these costly errors:
- Reusing the old gasket or sealant.
- Ignoring the thermostat’s orientation (spring direction).
- Over tightening or under tightening bolts.
- Skipping the air bleeding step.
- Using the wrong type of coolant or tap water.

Final Thoughts
Installing a car thermostat correctly requires attention to detail, not just mechanical skill.
By following these precautions, from preparation to post-installation checks.
You avoid leaks, overheating, and engine damage.
Always refer to your vehicle’s service manual for model specific instructions.
If you’re unsure about any step, consult a professional mechanic.
Timely and proper installation ensures your engine coolant system operates efficiently, protecting your engine for years.
Related Description:
Replace Thermostat Car, Auto Thermostat Replacement, Installing Thermostat, How to Replace a Thermostat, How to Install a Thermostat, How to Change a Thermostat